
This post will guide you to build an open-source PS3 development environment on macOS from the ground up, and show you how to compile and run your first PS3 homebrew app.
Prerequisites
- macOS (currently v10.14.6 Mojave)
- Xcode (currently v10.3)
- Homebrew (package manager)
Setting up the requirements
Xcode
- Download the latest Xcode from the Apple Mac Store.
- Install Xcode
- Run Xcode for the first time, and allow the application to install all the required libraries and complete the initial setup.
Homebrew (package manager)
Install the Homebrew package manager from brew.sh , by running the following command from a Terminal window:
/usr/bin/ruby -e "$(curl -fsSL https://raw.githubusercontent.com/Homebrew/install/master/install)"
Installing required packages
Once Homebrew is ready, we’ll use it to install the required packages to build the PS3 toolchain, by running the following command from a console window:
brew install autoconf automake openssl libelf ncurses zlib gmp wget pkg-config
Building the PS3 toolchain and libraries
To build the PS3 toolchain and the open-source libraries (including PSL1GHT), first we need to create a new folder:
sudo mkdir /usr/local/ps3dev
Next, we check out the build scripts and start the building process:
git clone https://github.com/bucanero/ps3toolchain.git
cd ps3toolchain
./toolchain-sudo.sh
Now your system will start downloading and building the GCC cross-compiler toolchain for the PS3, and continue with the PSL1GHT library.
Please note that depending on your hardware, available memory, and network connection speed, this can take a while.
Building your first sample
If everything goes as expected, when the toolchain script finishes, you’ll have a complete PS3 development environment ready to begin coding your own PlayStation homebrew apps and games.
To build a basic PSL1GHT sample and test the toolchain:
cd build/psl1ght/samples/graphics/blitting/
make
You should see an output similar to:
bitmap.c
main.c
linking ... blitting.elf
CEX self ... blitting.self
ELF header size @ 40
8 program headers @ 40
23 section headers @ 51478
deflated...processing segment 0 with rlen 26388 len 10cab offset 0...encrypted...
deflated...processing segment 1 with rlen 5140 len 14e9 offset 30000...encrypted...
deflated...processing segment 2 with rlen 30f0 len e5e offset 40000...encrypted...
deflated...processing segment 3 with rlen 1260 len 218 offset 50000...encrypted...
processing segment 4 with rlen 0 len 0 offset 51260...encrypted...
processing segment 5 with rlen 0 len 0 offset 35140...encrypted...
processing segment 6 with rlen 0 len 0 offset 0...encrypted...
deflated...processing segment 7 with rlen 28 len 22 offset 26360...encrypted...
segments enumerated
built crypt data
file built
self written in memory
Running your first sample
To run and test our sample code, we execute the PS3Load app on a host PlayStation 3, and send the compiled binary code over the network.
Installing PS3Load on your PS3
- Download the PS3Load v0.2 host app from Brewology.com
- Install the .pkg file on your PS3
- Connect the PS3 to your LAN network (Wi-Fi or Ethernet)
- Run PS3Load from the XMB (in the Network tab)
Sending your sample code
When the host PS3Load app is running, you’ll see your PS3’s IP address on the screen. Take note of it, so we can setup our PS3Load environment:
export PS3LOAD=tcp:192.168.0.30
Last but not least, we send the binary file to the host PS3. Now we are ready to see our first sample app running on the PlayStation:
/usr/local/ps3dev/bin/ps3load blitting.self
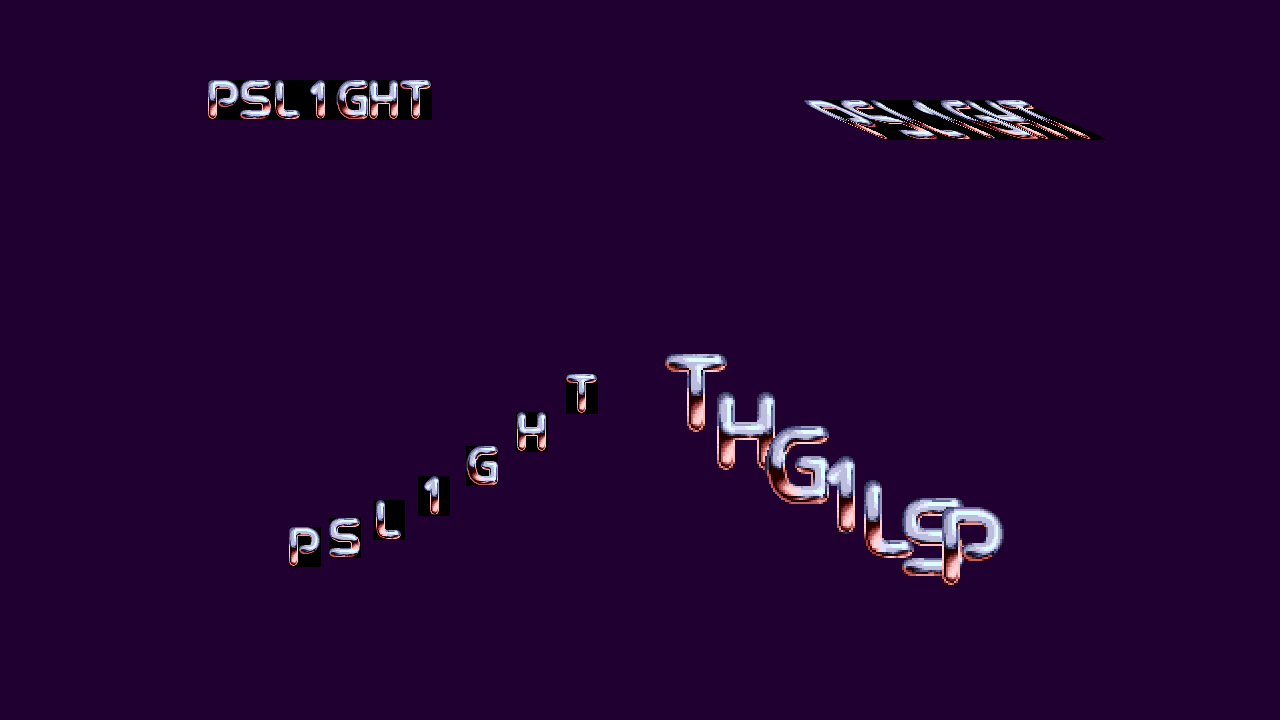
At this point, you should be watching a nice “PSL1GHT” demo on your PS3 screen. ![]()
Congrats! you’ve reached the end of this guide and hopefully you’re now ready to start coding some great homebrew apps and games for the PS3.
Update
Download pre-compiled binaries for macOS and Linux (Ubuntu) here: https://github.com/bucanero/ps3toolchain/releases